This facility allows you to define a report with the following properties:
| Conditions | Allows uses to filter cases to be included in a generated report. |
| Tags | Allows uses to filter report definitions in the Report Definition table for quick access. |
| Schedule Option | Allows uses to specify to generate reports on-demand or periodically. A report will be generated periodically when a schedule is given. Periodically generated reports are stored under %RDR_HOME%/projects/reports with a file name {report-definition-name}-{yyyyMMddHHmmss}.{output-format}, e.g ReferringGPs-201302280730.xslx. For running a report on demand, please see Runing a Report Definition. |
| Columns | Allows uses to select columns that to be included in a generated report with a specific order. If Set Conclusions are used, the report will NOT contain predefined columns “Case”, “Id” and “Date”, otherwise the predefined columns will be included. |
Note: Only users with LabQ Knowledge Manager access privileges are able to add, edit or delete a Report Definition.
-
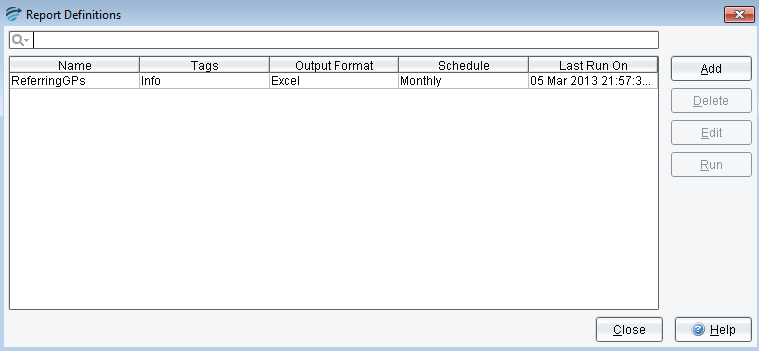
Launch the “Report Definitions” dialog.
-
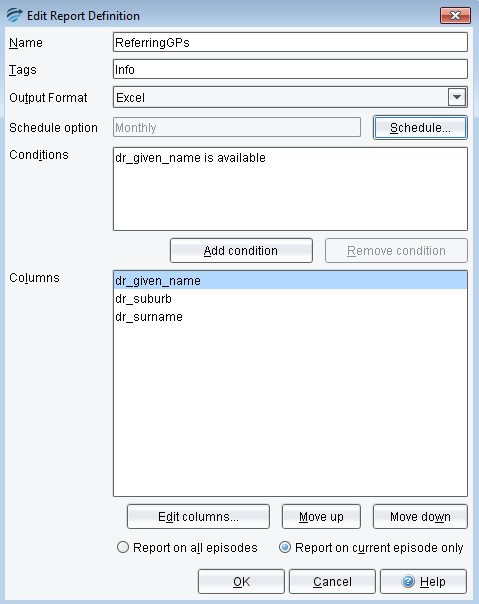
Select the ‘Add’ button to launch “Edit Data Definition” dialog.
-
Enter the name of the Report Definition (required).
-
Enter the tags (optional), a comma separated values. eg. NY, Public, Patient
-
Select output format (required).
-
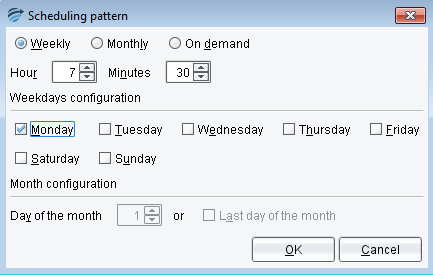
Select schedule option (required), “On Demand” by default e.g. Scheduling report generation on every Monday at 07:30
 e.g. Scheduling report generation on every last day of month at 07:30
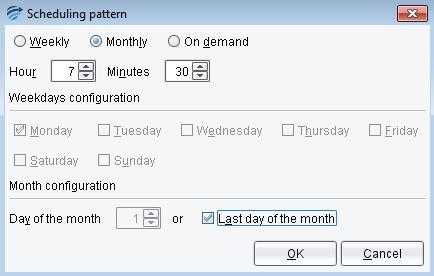
-
Select the ‘Add Condition’ button to add conditions.
-
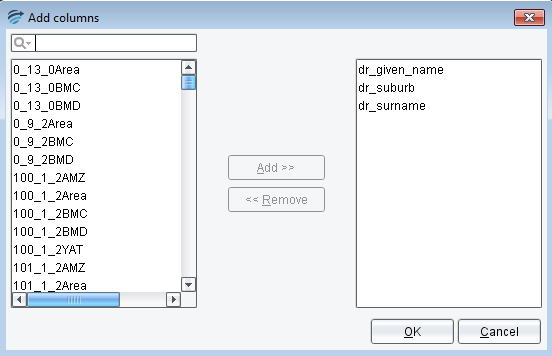
Select the ‘Edit Columns’ button to edit columns, and select Attributes, Features and/or Set Conclusions.
-
Order columns using the “Move up” or “Move down” buttons if necessary.
-
Select either “Report on all episodes” or “Report on current episode only”.
-
Select the “OK” button to save the report definition.
See also: