It is possible to set a RippleDown project up so that the reports are produced as PDF documents rendered by Adobe LiveCycle. There are several aspects to this:
- Specifying the connection to the LiveCycle system.
- Building the data model for cases within RippleDown.
- Importing the data model from RippleDown into LiveCycle, so that templates can be built.
- Building rules to add comments to cases instructing the system to print PDFs using LiveCycle, and specifying which template to apply.
Connecting to LiveCycle
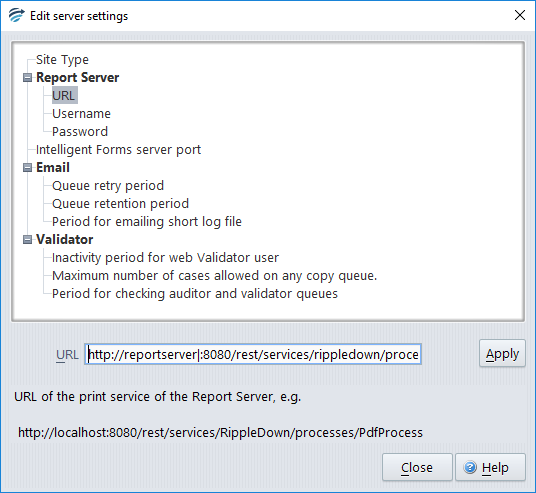
The connection to a LiveCycle server is managed from the Administrator application. From the Administrator Tools menu, select the ‘Edit server settings’ menu item. This will bring up the settings editor. In the editor, there is a ‘Report Server’ item, with sub-items for the URL, the user name, and the password:
 The screen shot above shows the URL of the LiveCycle server being edited. The user name and password for LiveCycle connections are edited in a similar fashion.
Using Report Items to build a Data Model
RippleDown sends the information for reports to LiveCycle as XML documents. The content of these documents are specified using Report Items, which are conclusions that are added to and removed from cases using rules.
Importing the Data Model
As mentioned above, RippleDown sends XML documents to LiveCycle. Within LiveCycle, the format of these documents needs to be specified using an XSD document (an XSD document is a special XML document that describes the tags and data that will be given in a class of documents). From the RippleDown Knowledge Builder, we can export the XML data document for a case. This export process also exports an XSD file for that document. This pair of documents can then be used from within LiveCycle.
Building Rules to apply Templates
If a LiveCycle connection has been set up, as described above, then the workflow comments for generating PDF documents from cases will apply. In particular, the ‘template’ tag will specify which template is to be used.
